Knitting sock with knitting
Many knitting come across the problem how to tie the heel of sock. The phased scheme of how to knit the heel of the sock with the needles will clarify this moment
Knitting socks – fascinating, but also a difficult occupation, because in this process there are several sufficiently complex elements that are not always able to correctly connect the first time. It is especially about the heel, because it is this plot that requires an accurate calculation of the required number of loops.
If the standards from the legs were removed incorrectly, the associated product would be bad to sit on the leg and deliver a lot of discomfort during socks.
Which elements are sock?
Before knit socks, it should be learn about which plots should be a product-kniting product.
Traditional sock includes such elements:
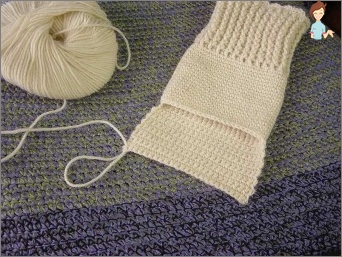 The set of the edge is the most upper part of the sock, which is assembled by various set methods
loops;- Pagolanok – part of the product that directly adjoins the edge of the sock. As a rule, it is formed with various patterns, since the pagano is most noticeable when wearing socks in shoes;
- The heel is an important component that is collected both direct and reverse rows. The most common methods of forming this site are considered «boomerang» and a stepped heel;
- Wedge lifting foot – Detail that makes sock more «Digid», Connecting the heel and sole loop. It is on this plot that the number of loops (units) is reduced to the product of the village along the leg;
- Stop – segment between my and the heel part. It is usually assembled by facechair of sufficiently durable threads, since the stop during wearing is experiencing a serious load;
- Tough – an important component of a sock that closes the finger zone. As a rule, it is assembled with a ribbon method, thanks to which it is possible to approve the item, making it suitable for the size of the fingers.
Knitting by ordinary spokes
How to knit the heel sock with ordinary spokes? In this master class, two methods of assembly will be considered: the method of forming an angle and the method of rotation. Each of them has its own characteristics, so consider the scheme in stages, how to properly knit the heel of sock with knitting.
In any case, the assembly of the workpiece begins with elastic bands and forming stockings. Tied to the heel zone, you need to add all the loops located on 3-4 knitting, one. To visually demonstrate the method, recruit 20 kettles, representing that it is half the circumference of the product.
The method of forming an angle:
- Set of loops. Forming small loops, knit the first row in the wrong way. At the same time, the first loop must be removed and not to. In addition, the last unit, on the contrary, is always pronounced and only from the wrong side. At the end of the first row, a double loop of the last two units should be formal;
- The first row should be formed so as to reduce the last looting;
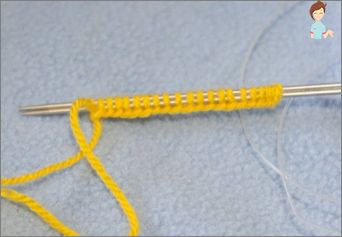
- The second row is formed in the same way. In the same spirit, the following rows are also pronounced, but only in each of them should be diveged over the same loop;
- When there will be only 9 units on the needker, the abbreviation must be stopped;
- Then «Submire» abbreviated the last loop and check it;
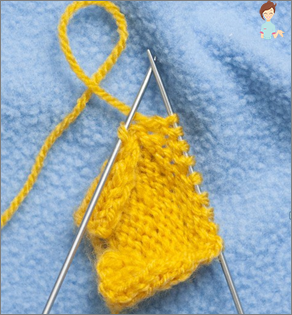
- After that, pick up and check the loop in the face row;
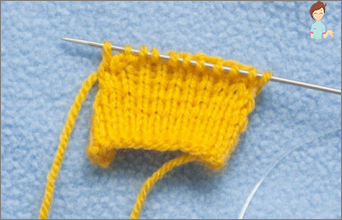
- In the same way, continue assessing the workpiece, adding in each row one unit;
- Featuring all abbreviated loops, you will get a formed heel from socks.
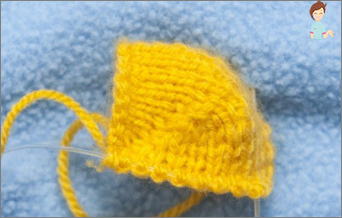
Turning method:
- To tie the heel of sock on this method, form 21 loops;
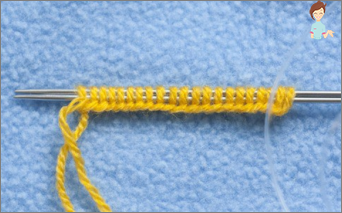
- Then it should be knitting a billet with a fever: one row is assembled by the facial, and the second – invalible loops;
- Thus, 14 rows are formed;
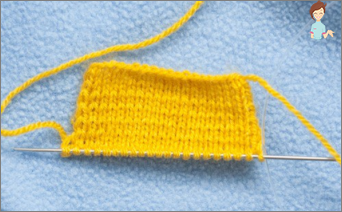
- Next, check the first 7 units, then – 6, and the last one with the first unit of the last seven;
- Expand the workpiece and check 6 units, and the last connect together with the first of the very first seven;
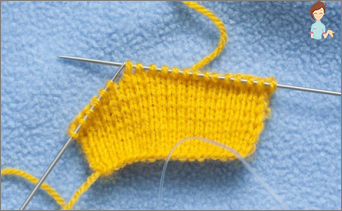
- Similarly, continue knitting on the needles until you have only seven medium units;
- Then select all the side loops, as a result of which the required sock is formed.
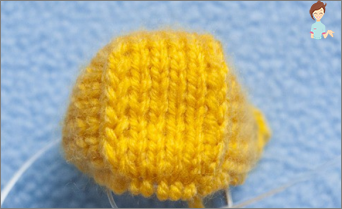
Method «Boomeranga»
How to knit your wearing heel «boomerang»? The scheme considered in this master class will allow you to knit the heel on the sock 2 knitting: 1st and 4th. Since the part formed by this method is shorter than usual, for 1 cm to the element assembly, start viscosity. To collect the heel «boomerang», Divide the hinges on 3 identical parts.
After that, knit the detail shortened by rows from the outer part of the product to the inner, while starting the process from extreme capets:
- First row collect facial stroke together with the last unit, and then expand the workpiece;
- During the assembly of the Point Row, form a double loop. It is desirable that the tension of the thread be good, otherwise the holes are formed into the details;
- Next, put the yarn before the workpiece and check all the units with an involvement method;
- In the third row, first form a double loop, and the others knit the personal method. Then turn the blank again;
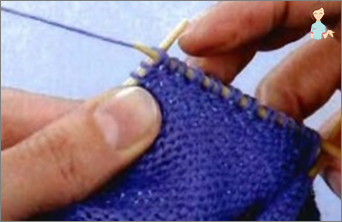
- 4- Rows Start with a double loop, and then knit off the last dual loop;
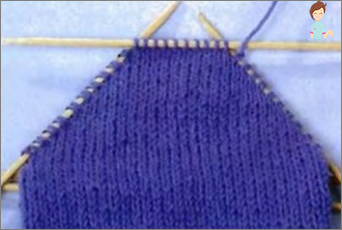
- Then form two circular rows on all units;
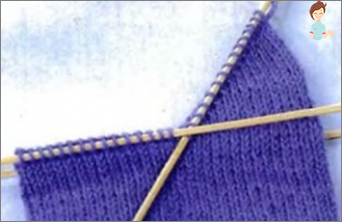
- Next, check all the double loops, as described above.
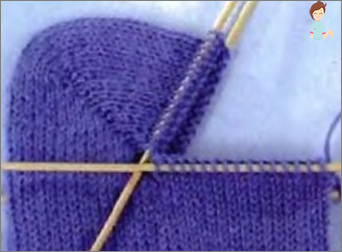
Double heels
How to knit double heel at sock?
From all the considered master classes, this one is the easiest, so it will be possible to collect the item correctly even beginners:
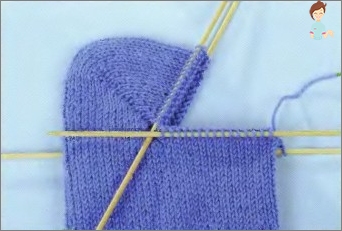 For 4 spokes, type the number of units;
- The upper part of the product is formed using an elastic thread;
- When closely approach the heel, transfer all the loops per knitting!
- Enter the auxiliary thread in the process by attaching it to the main one;
- After the formation of the details you can simply correct it into the product itself;
- Dial the rows of facial and reverse stroke, as described above, until the required length of the heel part is formed;
- The last row finish the front and start forming «Cashechka»;
- All units divide equally and slide on three knitting needles;
- Slip the heel double yarn from the wrong side;
- Then form the same part, but only from the face;
- Ultimately when you «Pick up» All side units, it turns out a dense cup;
- Then just doincate the auxiliary thread and continue the knitting of the other parts of the product.
How to knit the heel of sock on ordinary knitting needles? There is a mass of ways to form heels with different patterns.
After reading it in more detail with the master classes proposed in the article, you will learn about the easiest ways to knitting the heel part, as well as how can you collect a double heel with greater density, which will allow the product to not deteriorate and not wear for a long time.


